There are a number of fun outdoor winter activities that could have you traveling out on the frozen water – snowmobiling, ice skating, ice fishing… but when exactly is the ice safe?
Well, there really is no sure answer. The strength of the ice is based on a lot of different factors including how long it’s been frozen, the thickness, the temperature, the depth and size of water body underneath, currents, etc. Before you head out onto that frozen lake or river, consider the following ice safety precautions:
- Check for known thin ice areas with a local resort or bait shop.
- Refrain from driving or parking on ice whenever possible. If you do drive on the ice, cars, pickups or SUVs should be parked at least 50 feet apart and moved every two hours to prevent sinking.
- Tip: Make a hole next to the car. If water starts to overflow the top of the hole – the ice is sinking and it’s time to move the vehicle.
- Also, if you must drive a vehicle, be prepared to leave it in a hurry–keep windows down and have a simple emergency plan of action you have discussed with your passengers.
- Stay away from alcoholic beverages that could hinder your ability to react quickly.
- Don’t “overdrive” your snowmobile’s headlight. At even 30 miles per hour, it can take a much longer distance to stop on ice than your headlight shines.
- Carry a pair of ice picks.
- Wear a life vest under your winter gear. However, do NOT wear a flotation device when traveling across the ice in an enclosed vehicle.
[hr_invisible]
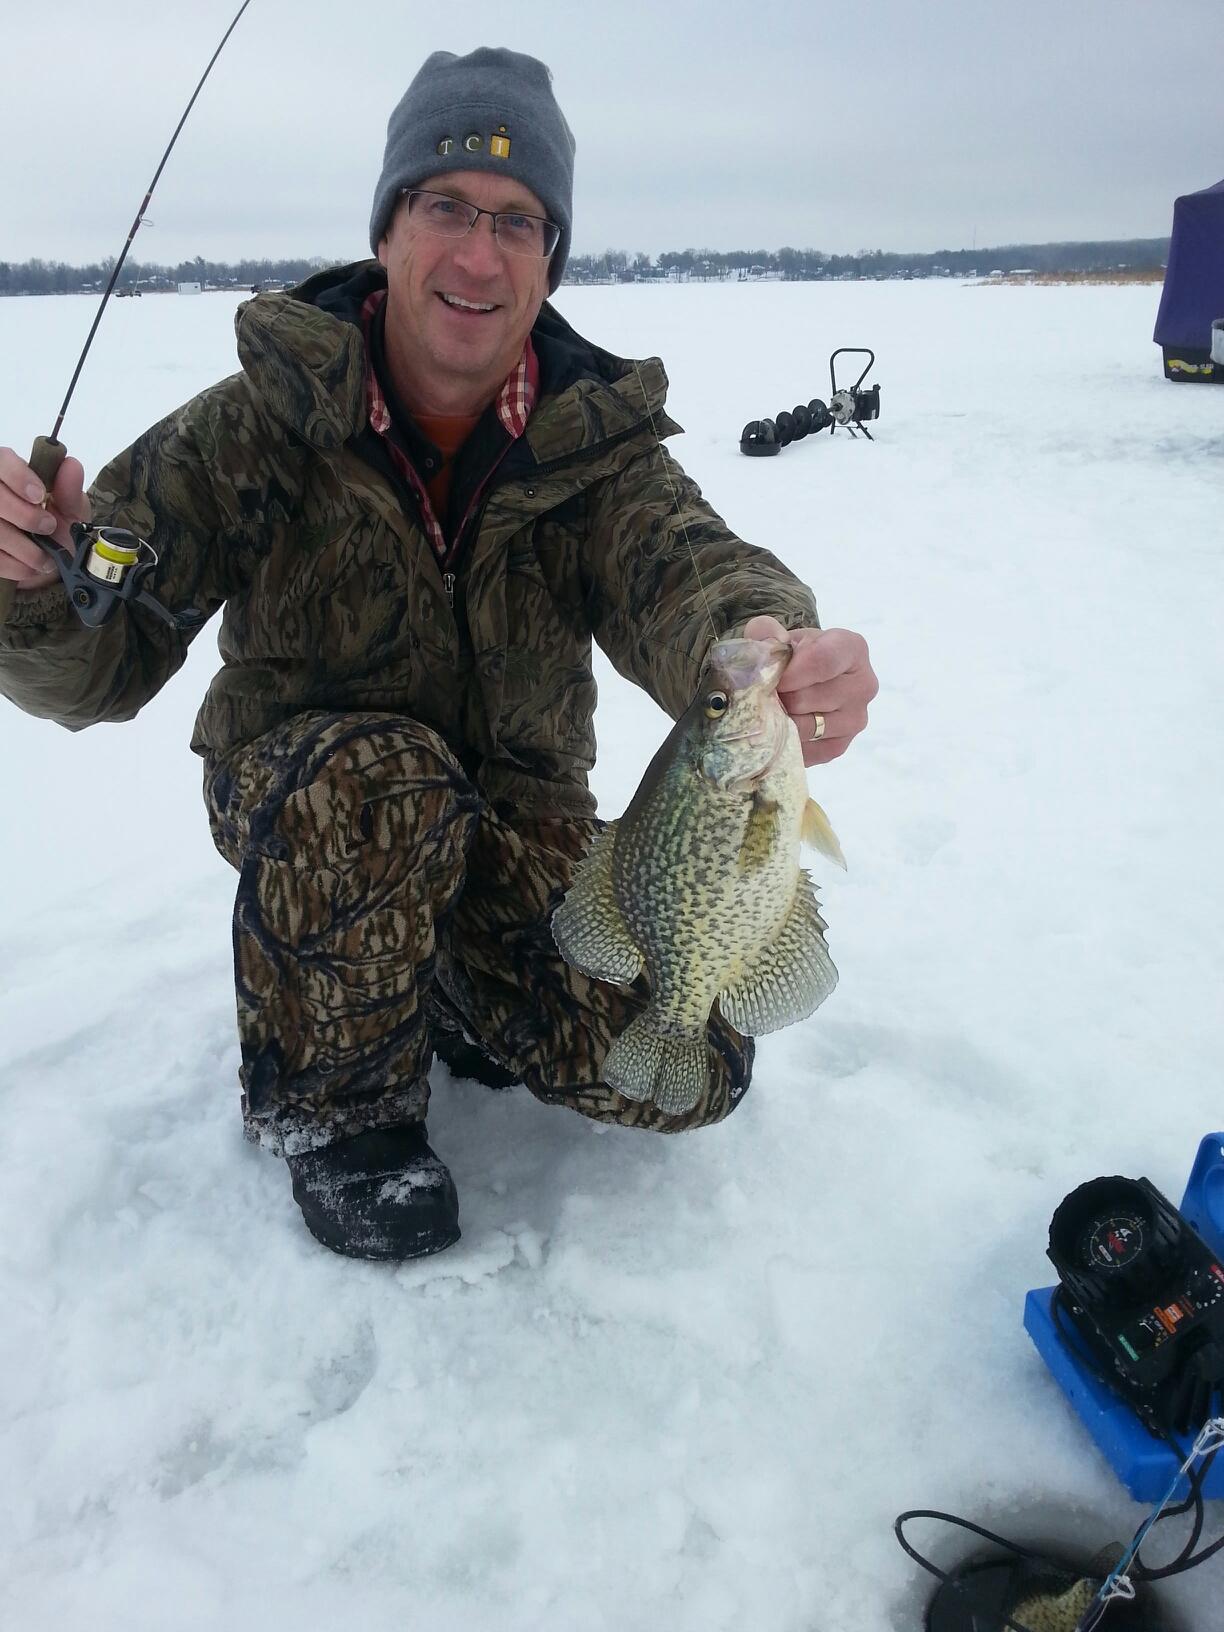
How to Check Ice Thickness
It is important to check the ice thickness once you get to your destination. Temperature, snow cover, currents, springs and rough fish all affect the ice safety. Ice is seldom the same thickness over a single body of water; it can be two feet thick in one place and one inch thick a few yards away. Check the ice at least every 150 feet.
The easiest way to measure the thickness of the ice is with a simple tape measure. Create a hole through the ice and put the tape measure into the hole and hook the bottom edge of ice before taking measurement. You can also use an ice fisherman’s ice skimmer with inch markings on the handle in place of the tape measure.
To create the hole in the ice, use one of these methods:
- Ice chisel – An ice chisel is a metal rod with a sharp, flat blade welded onto one end. Drive the chisel into the ice, using a stabbing motion, to create a hole. Next, measure ice thickness with a tape measure.
- Ice auger – There are 3 different kinds of augers: hand, electric and gas. Hand augers are low cost, light weight and quiet. Electric augers are also quiet, but use less manual labor than a hand auger. Gas augers drill through ice the fastest, but are heavier, noisier and generally more costly than hand or electric models. After drilling a hole with the ice auger, measure ice thickness with a tape measure.
- Cordless drill – Using a cordless drill and a long, five-eighths inch wood auger bit, you can drill through eight inches of ice in less than 30 seconds. Most cordless drills that are at least 7.2 volts will work, but the type of bit is critical. You need a wood auger bit since they have a spiral called a “flute” around the shaft that metal drilling bits don’t. The flutes pull the ice chips out of the hole and help keep it from getting stuck, much in the way a full-sized ice auger works. After drilling a hole, measure ice thickness with a measure tape. Dry the bit and give it a quick spray of silicone lubricant after each use to prevent rust.
Bottom line – Ice safety precautions are crucial because there is no such thing as 100% safe ice. So be sure to use caution and be prepared when venturing out for your outdoor winter adventures.
Source: MN DNR
[hr_invisible]